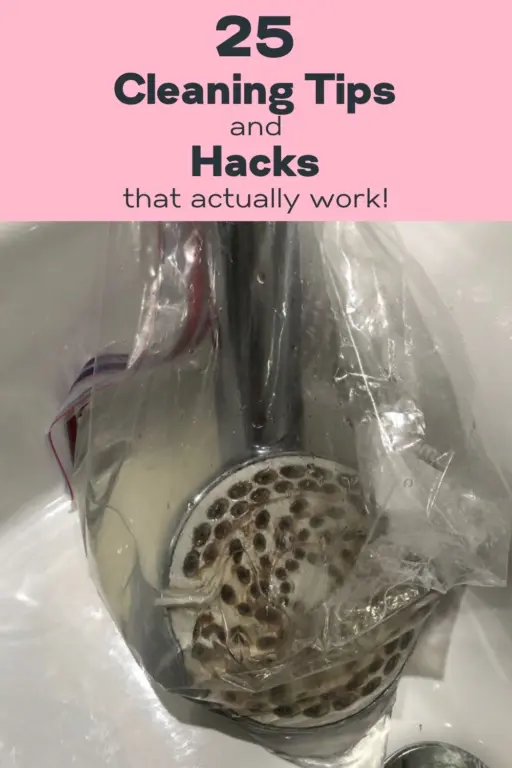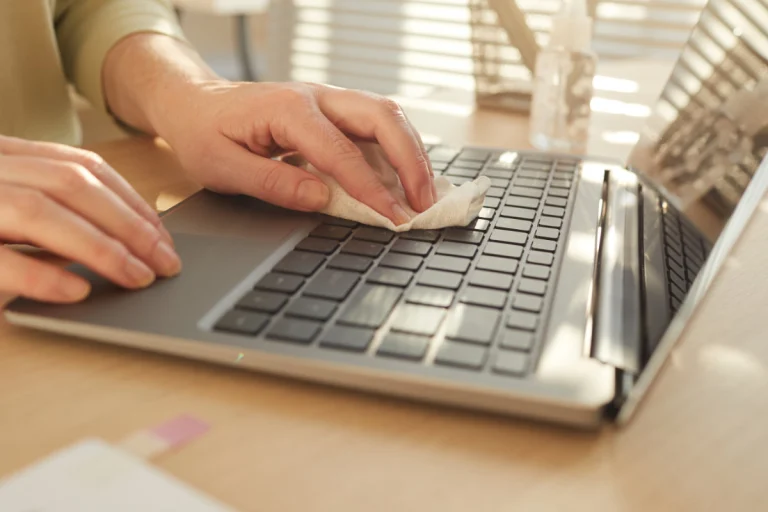
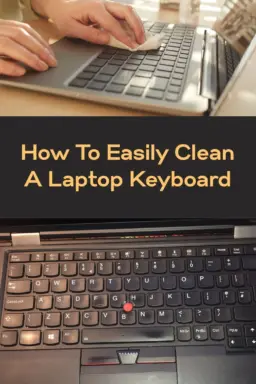
If you work from home and use a keyboard all day as I do, it can get clogged up with crumbs. The surface can get tacky and the keys can even start to stick. Typing becomes a tricky business!
In the post, I am going to take you through how you can easily surface clean a laptop keyboard without removing the keys. If you find that the keys are still sticky I have a solution for you too, because usually, taking off sticky keys for cleaning is actually not that hard.
One of my readers wrote to me recently, panicking because she had spilt soda all over her laptop keyboard and now the keys are sticky, and she can’t afford a replacement. Well, I have great news dear reader, follow this guide and you won’t have to shell out for a brand new laptop.
Need a quick answer? Check out this summary and read on when you have more time.
To clean your laptop quickly, turn it upside down and shake it out to remove loose debris. Then use a can of compressed air to blow out the rest of the dirt. Take some clear tape and push it under the keys to dislodge stuck-on dirt. Then wipe the surface with some cleaning slime and then a disinfecting wipe. Dry with a microfibre glass cleaning cloth.
Heads up: I sometimes use affiliate links. When you click these links and make a purchase, I may get a small commission. It won't cost you anything but it helps me to run this site.
How to clean a sticky laptop keyboard without removing keys
Laptop keyboards are a little more cumbersome to clean than desktop keyboards. You can’t detach the keyboard from the computer so it can make it awkward to clean.
If you follow these steps, you should be able to bring your keyboard back looking new and even stop the keys from sticking. However, don’t be discouraged if your efforts still result in sticky keys. Read further down this post to find out how to remove those sticky keys easily, clean underneath and then pop them back.
Things you’ll need to clean your sticky laptop keyboard
- Cleaning slime
- Disinfecting wipes
- Clear tape
- Compressed air
 Buy at Amazon
  Buy at Amazon
  Buy at Amazon
  Buy at Amazon
 Step 1 – Turn off and unplug your laptop
It goes without saying, but don’t attempt to clean your laptop keyboard when the power is on!
Step 2 – Turn upside down
Turn your laptop upside down so that any loose debris falls out immediately.
Step 3 – Blow out debris
Now blow out more debris with your compressed air can. If you don’t have any compressed air you can use your vacuum cleaner with the crevice tool on a low setting to lightly suck out the dirt and dust.
You can also buy mini vacuums especially for cleaning keyboards:
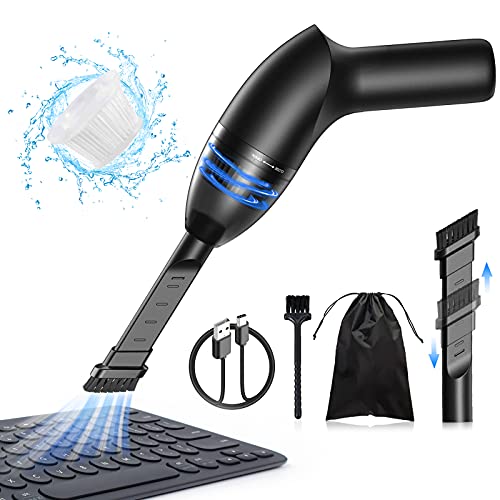 Buy at Amazon
 Step 4 – Apply tape underneath the keys
Take some adhesive tape and slide the sticky side under the keys as far as it will go.
Step 5 – Roll cleaning slime over the keys
Take your cleaning slime and roll it over the keys to pick up more dirt. This stuff is great for getting into little spots that are difficult to reach.
Step 6 – Wipe over the top of the laptop keyboard
Take an antibacterial wipe and run it over all the keys and around them. Then take a dry microfibre glass cleaning cloth and wipe over the top.
 Buy at Amazon
 Step 7 – Leave to dry
Don’t switch your keyboard back on until you are sure your keys are dry.
Now you know how to clean your laptop keyboard without removing the keys, why not clean the screen too? Here’s how to clean your laptop screen without getting streaks.
Related reading:
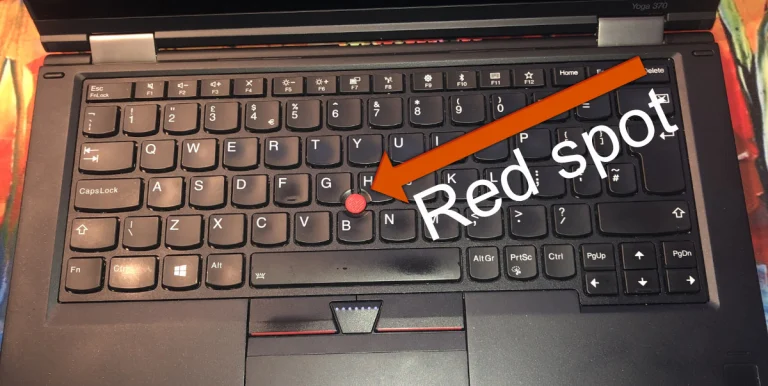
How to clean a Lenovo Thinkpad keyboard TrackPoint
I include some special directions for Lenovo Thinkpad keyboards because that is the laptop I own (and I love it by the way!).
 Buy at Amazon
 Thinkpad keyboards are a little different to other laptops because they have a little red TrackPoint in the middle which you can use in place of a traditional mouse. That little zit (as I like to call it) saved my wrists, which were suffering badly from constant use of the mouse. It was mouse clicking that caused the RSI issue all the way up my arm. When I switched to a Thinkpad and got used to the red spot my RSI disappeared, it was amazing!
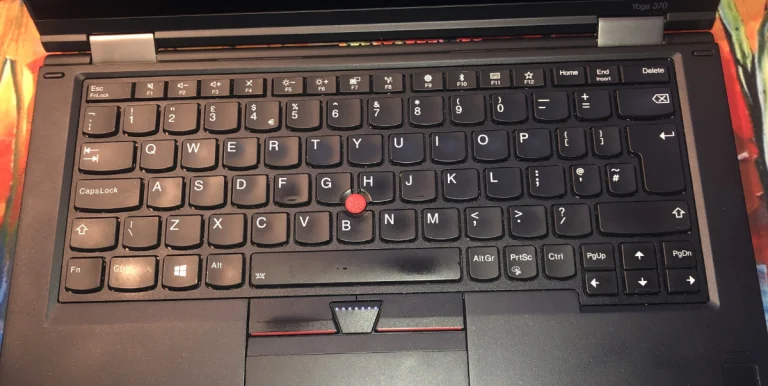
Cleaning the whole keyboard will be the same as above. Here are some special directions for cleaning the red TrackPoint in particular.
Things you’ll need to clean your red TrackPoint
- Soft toothbrush and toothpaste
- Tweezers
- Compressed air
Step 1 – Remove the TrackPoint cap
You can usually remove the red cap with your fingers if they are small enough. If you are having trouble getting it out, use some tweezers to prize it out.
Step 2 – Clean the TrackPoint cap
Take your soft toothbrush and gently scrub the top of the TrackPoint cap with a small amount of toothpaste until the dust and dirt is removed.
If the red cap is worn down consider replacing it. I buy my replacements on Amazon pretty cheaply. Now I always have some spare.
 Buy at Amazon
 Step 3 – Clean underneath the TrackPoint
Use a can of compressed air to blow out debris from the area around the TrackPoint.
Step 4 – Replace the TrackPoint cap
Allow to dry and then replace the TrackPoint cap with your fingers or tweezers.
How to remove sticky laptop keyboard keys and clean underneath
If all your efforts to get your keyboard clean haven’t worked so well and the keys are still sticking, the next step will be to remove the keys.
Removing sticky keys and cleaning underneath can bring them back to perfect working order. Removing the keys isn’t that hard, it will take a little time and can be a little fiddly.
Please note that what follows are general directions. There is a possibility you could damage your laptop. Please check out the manufacturer’s directions for removing and cleaning the keys for your particular keyboard.
Here’s how to remove your sticky keyboard keys easily so you can clean underneath:
Before you start, switch off and unplug your laptop.
Step 1 – Take a photo of your keyboard
Before you start I recommend you take a picture of your keyboard so you will know where each key goes when you put it back. The last thing you need is to find the wrong letter comes out when you use it!
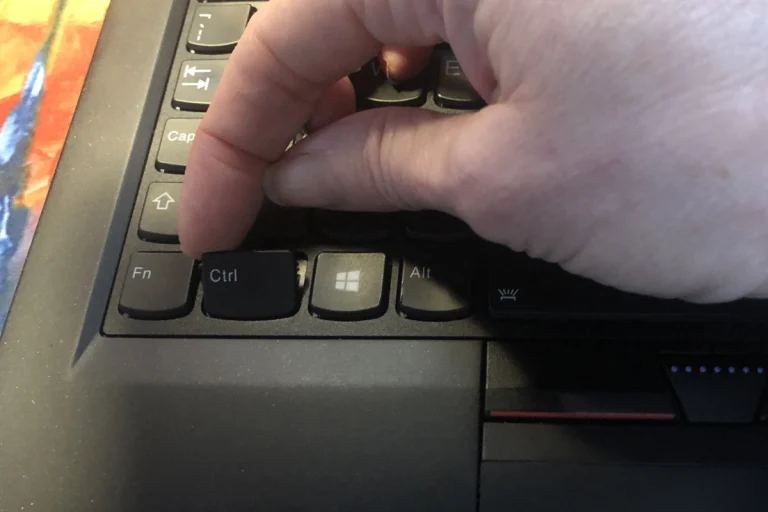
Step 2 – Use a screwdriver or your finger to lever off a key
Depending on the type of keyboard you have, use a flathead screwdriver or your finger to gently lever off a single key.
I have a Lenovo Thinkpad laptop. The keys can be removed with just the tip of your finger. I used my finger to lever off the key on the top right and then the same on the top left.
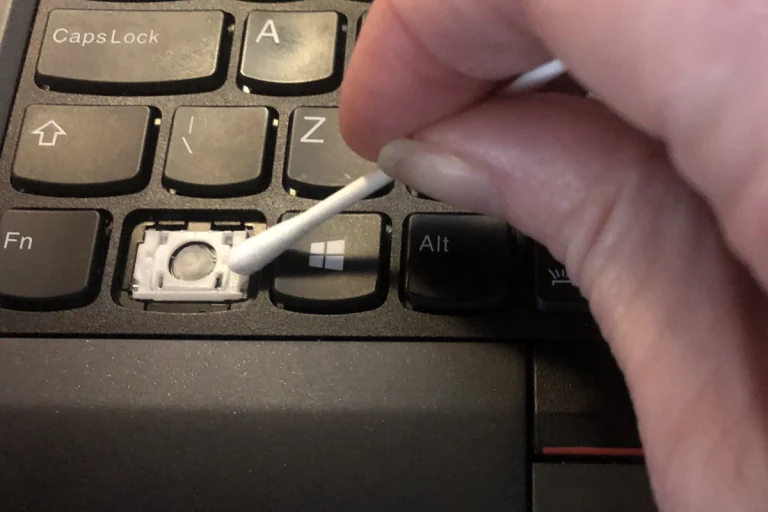
Step 3 – Clean the area underneath the key
Take a cotton swab dipped in rubbing alcohol and gently rub over the area where you removed the key.
Step 4 – Clean the key
Clean the key with a damp microfiber cloth.
Step 5 – Allow the key to dry and then pop back on
When the key is fully dry, the key should pop back into place easily.
Repeat the above steps for all the keys.
Here are some quick links for key removal for different laptops: